AI is taking the world by storm, and it’s given birth to a multitude of websites and services that can conjure up an image from just a text description or prompt. Meet Stable Diffusion, your new image-creating bestie! In this post, I’ll share my experience using Stable Diffusion, the concept behind diffusion models, and how I fine-tuned models to generate images that looked eerily like myself.
What is Stable Diffusion?
Stable Diffusion is an AI-based image generation tool that utilizes diffusion models to create realistic images. Diffusion models work by breaking down an image into a series of simpler images called “diffusion steps.” Each step is generated using a combination of noise and the original image. The model then learns to reconstruct the original image by reversing this diffusion process, generating images with similar characteristics to the input image.
In other words, it is like a talented artist with a unique way of painting. Imagine the artist starts with a clear picture and slowly adds more and more splashes of paint, making it blurrier and more abstract. This process is like the “diffusion steps.” Then, the artist can take a blurry, abstract image and magically remove the paint splashes, revealing a new, clear picture that looks like the original. With Stable Diffusion, you just give some words to describe what you want, and it uses its special painting technique to create a realistic image based on your description.
Getting Started with Stable Diffusion (SD)
In the Stable Diffusion subreddit, there’s an excellent compilation of resources to help beginners dive into the world of diffusion models. Since my gaming desktop houses my GPU and runs on Windows, I opted to experiment with the A111 implementation. This particular implementation offers a user-friendly web interface for generating images, making it a convenient choice for testing out Stable Diffusion.
My Initial Attempt with img2img
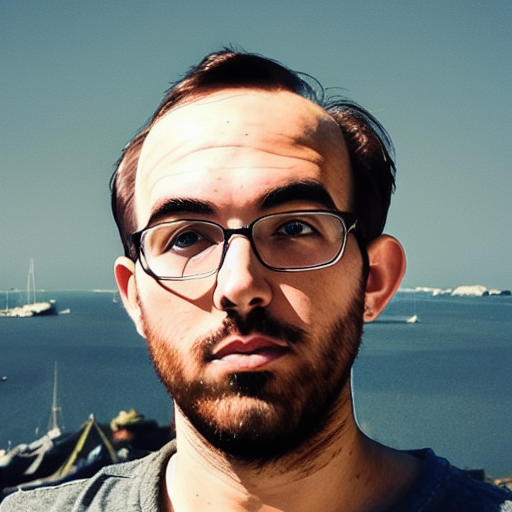
To start my journey, I decided to use the img2img feature of Stable Diffusion. This process takes an existing photo as input and generates new images based on the input and whatever text prompt you provide. I used a photo of myself and was impressed by the results. The generated images didn’t look like me but provided a close approximation based on my prompt. Unfortunately, they lacked the finer details that would make them truly resemble me. Here is a side-by-side example of the provided image and one of the better output images:
| Original | Stable Diffusion |
|---|---|
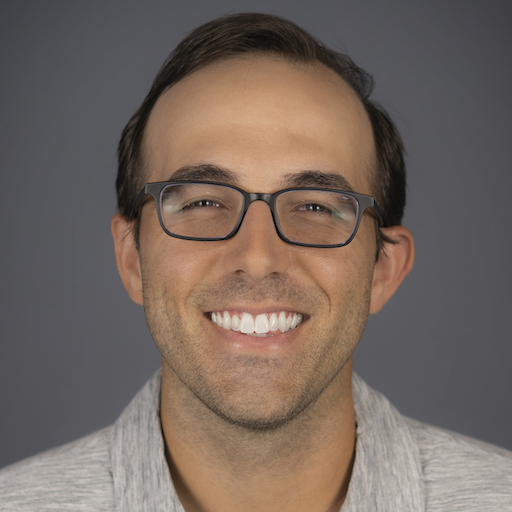 | 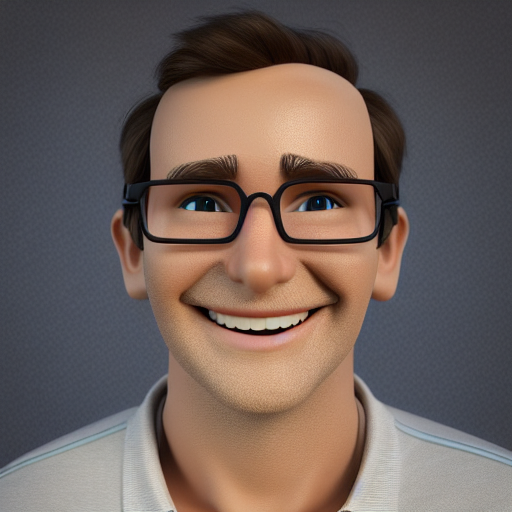 |
For this image, I used the prompt: Pixar, Disney character, 3D render, high quality, smooth render, young man wearing glasses, grey polo shirt, cute smile, thin face.
Fine-tuning with Dreambooth
While the initial results were good, I wanted to take it a step further and fine-tune the default stable-diffusion-v1-5 model on my own images. This is where Dreambooth came in handy. Dreambooth is an additional tool that allows users to fine-tune the models on specific images, leading to better and more accurate results. Specifically, it retrains the model to understand a new special keyword as the subject of interest (in this case me), while not losing it’s previous training.
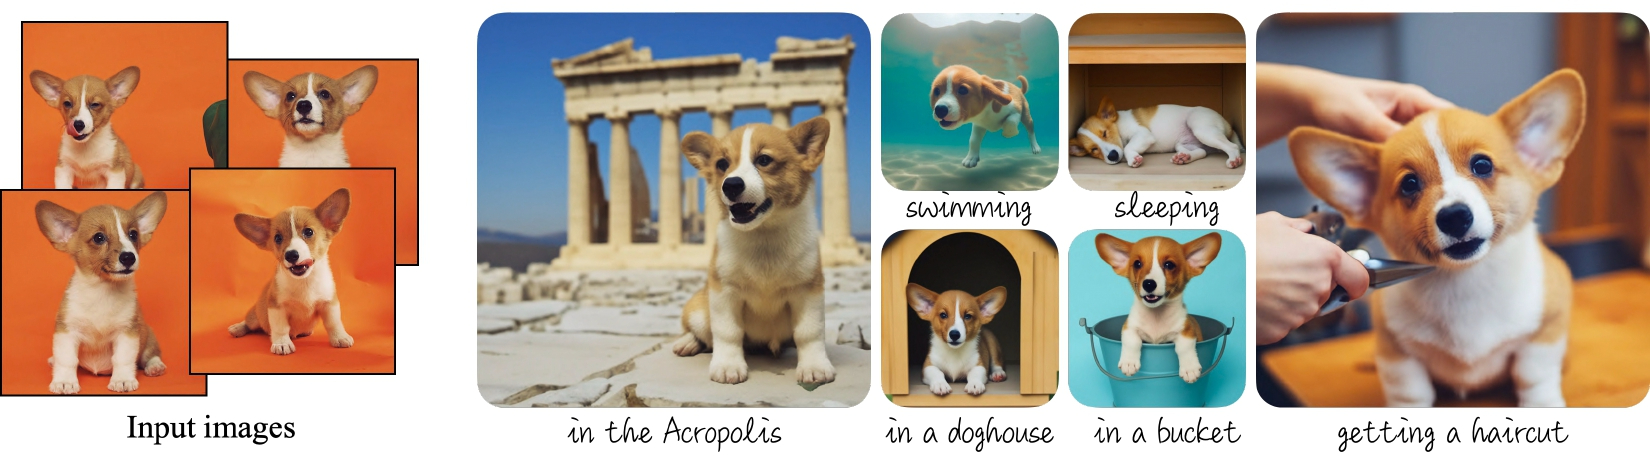
I went through multiple attempts at fine-tuning the model, adjusting various parameters and providing different input images. With each iteration, I noticed that the generated images started to look more and more like me. The process was both exciting and unnerving, as the model captured even the smallest details of my appearance.
The Final Result
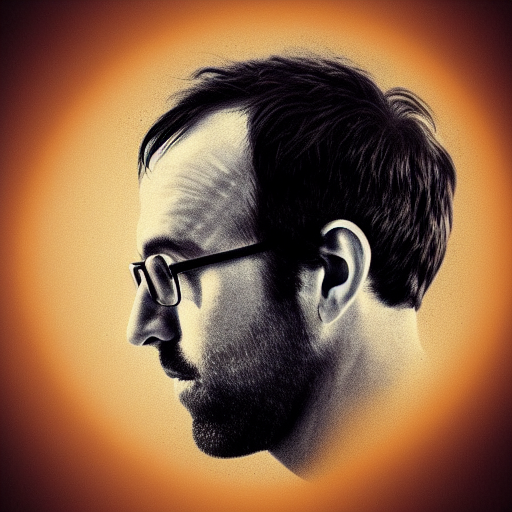
After a long period of trial and error, I finally achieved a level of fine-tuning that produced images that were similar to my actual appearance.
| ⠀ | ⠀ | ⠀ |
|---|---|---|
 |  |  |
 | 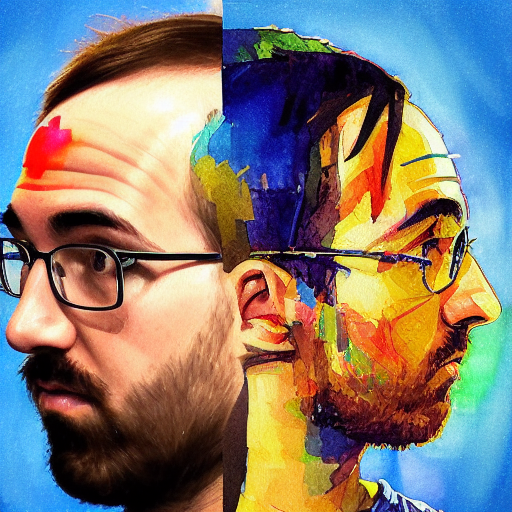 |  |
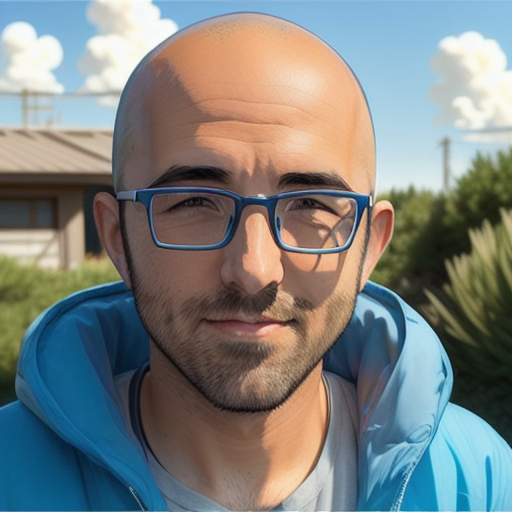 | 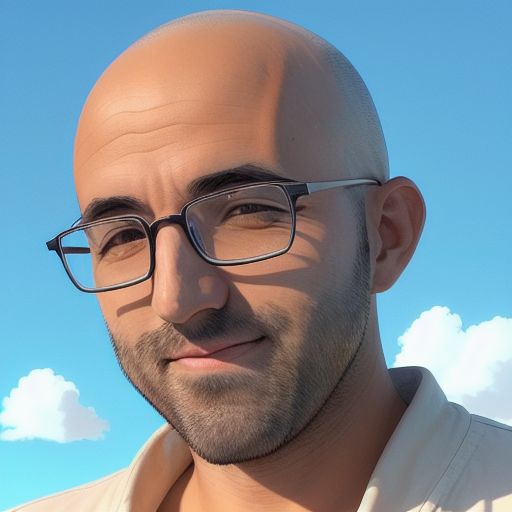 | 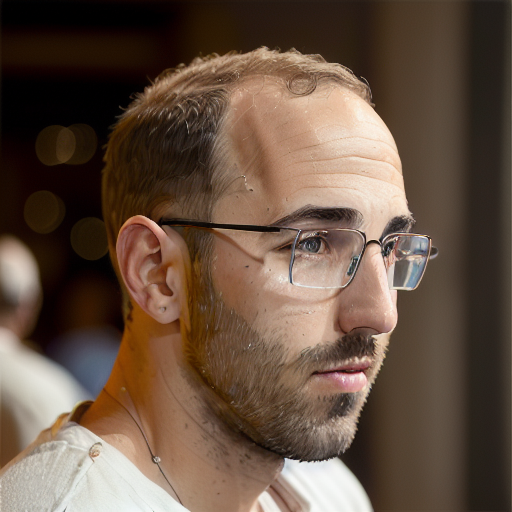 |
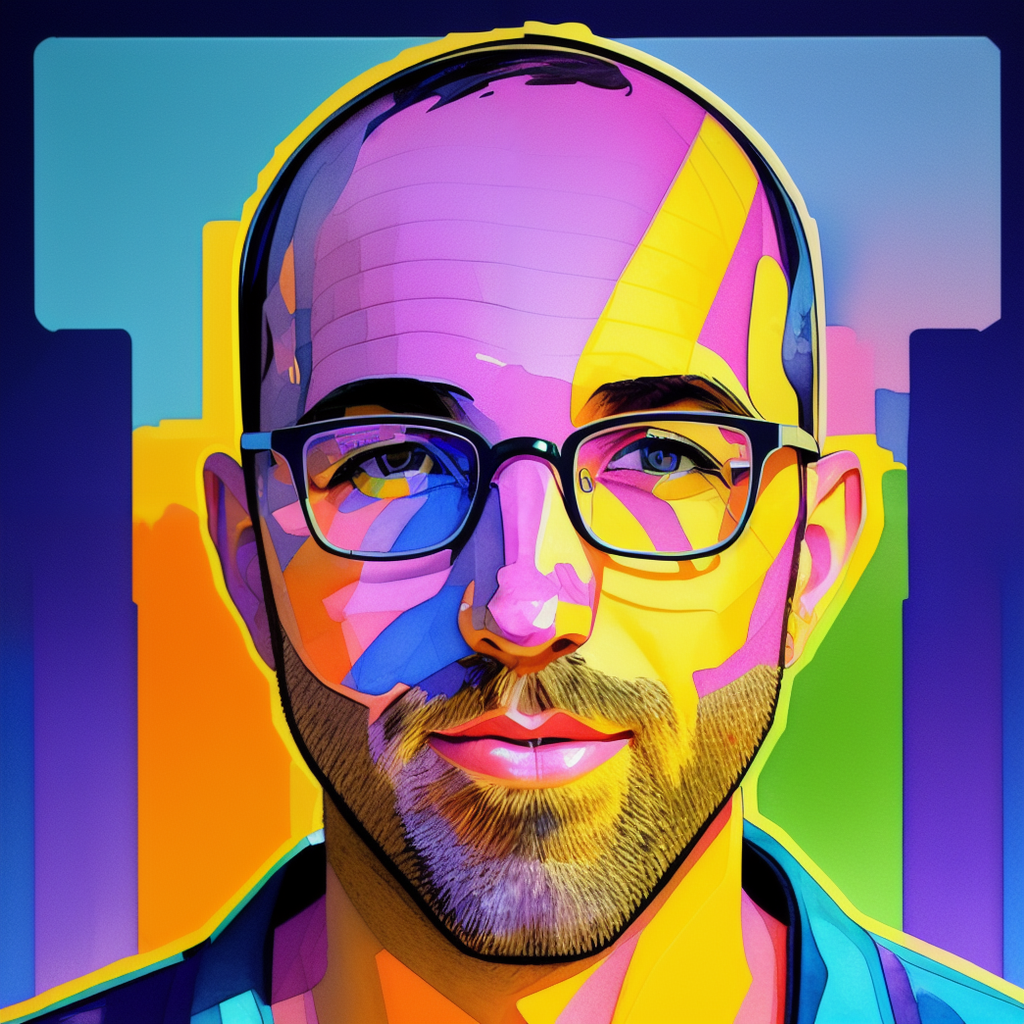
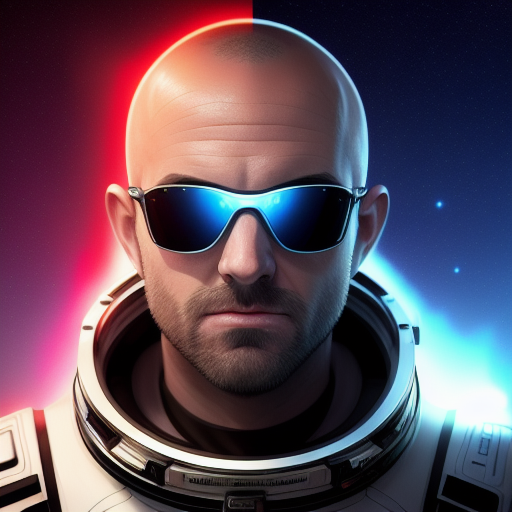
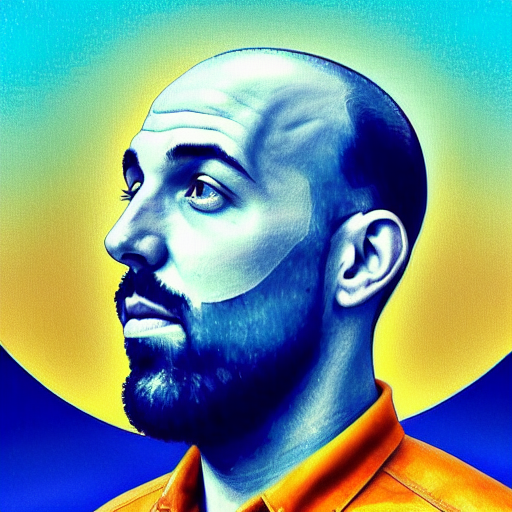
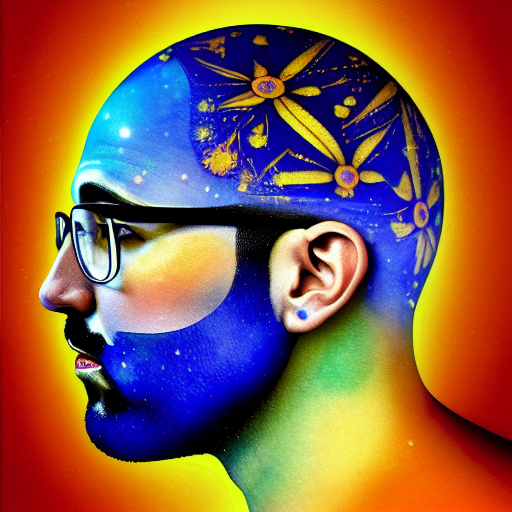
As you can see, Stable Diffusion can produce a wide variety of artistic styles.
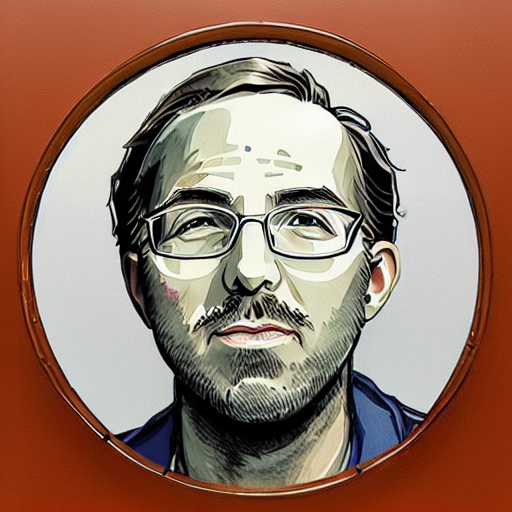
Figuring out SD is an art in and of itself, but I was able to find two images I very much liked:
| ⠀ | ⠀ |
|---|---|
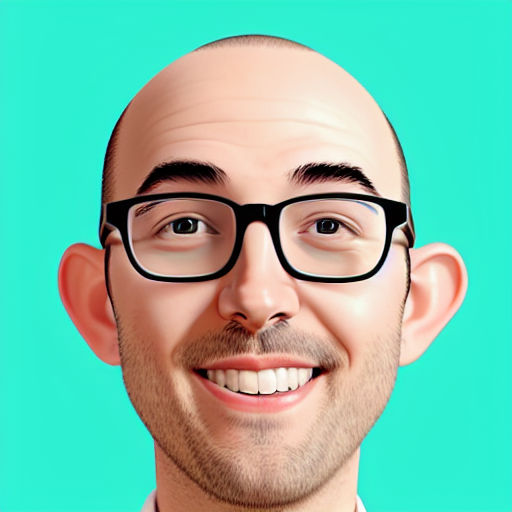 | 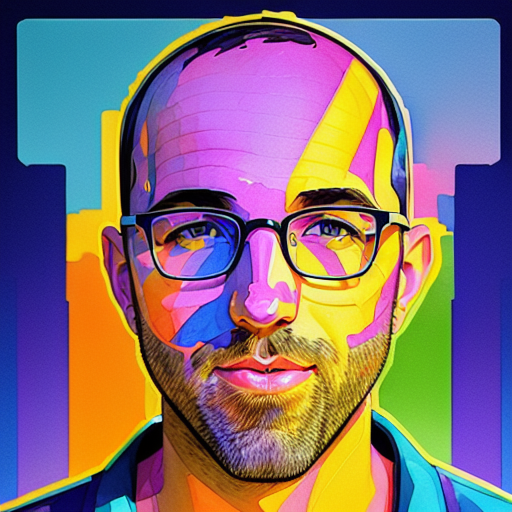 |
You’ll recognize the second picture as the source for what would become the avatar to my GitHub profile and this blog.
Overall, the experience of using Stable Diffusion and my RTX 3080 GPU was both enlightening and enjoyable. It demonstrated the power of AI and the potential of using diffusion models for realistic image generation. The ability to fine-tune the models using tools like Dreambooth opens up endless possibilities for generating personalized and realistic images, making it an exciting area to explore for both enthusiasts and professionals alike.